
First and foremost, I highly recommend going to anyone who can snag a ticket. I had a great time playing games as well as meeting people I otherwise only knew online. It was overall a really fun time. Even if you show up, get stomped every game, and then do the team game at the end (and lose that), you'll still get something like an alt-art Leia and earn enough tickets for something sweet like a frosted gloss Gladiator-I!
 |
| Decades later and Chewbacca still doesn't get a medal! |
 |
| Stay frosty, my friends |
 |
| John (left) and Jack (right) both dressed very classy-like |
My fleet, or "triangle traitor"
So this is what I brought to Worlds day 1B:
Faction: Rebel
Commander: General Rieekan
Assault: Most Wanted
Defense: Hyperspace Assault
Navigation: Salvage Run
MC30c Torpedo Frigate (63)
• General Rieekan (30)
• Lando Carissian (4)
• Ordnance Experts (4)
• External Racks (3)
• Admonition (8)
= 112 Points
MC30c Torpedo Frigate (63)
• Skilled First Officer (1)
• Ordnance Experts (4)
• External Racks (3)
= 71 Points
CR90 Corvette A (44)
• Turbolaser Reroute Circuits (7)
• Jaina's Light (2)
= 53 Points
Hammerhead Scout Corvette (41)
• Slaved Turrets (6)
• Task Force Organa (1)
= 48 Points
Hammerhead Scout Corvette (41)
• Slaved Turrets (6)
• Task Force Organa (1)
= 48 Points
Hammerhead Torpedo Corvette (36)
• External Racks (3)
• Task Force Organa (1)
= 40 Points
GR-75 Medium Transports (18)
• Slicer Tools (7)
• Quantum Storm (1)
= 26 Points
Squadrons:
= 0 Points
Total Points: 398
Now I expect a fair number of you are thinking "wait, doesn't Eric only play Imperials and didn't he win Adepticon with a Sloane squadrons fleet about a month before Worlds?" In response to those two questions:
1) Actually, I periodically also play Rebels (although rarely, but I do own Rebel stuff!)
2) I sure did. Let's talk about that a bit more...
So Adepticon was a blast and I felt like Interdictor Sloane answered a lot of questions posed by wave 7 fleets. That said, I had concerns about an upcoming FAQ (confirmed as only "yep, one will come before Worlds" and that's the extent of the information I had) hitting squad-heavy fleets, in particular those leaning hard on Relay and/or flotillas, with the nerf bat. They'd been complained about (...justifiably, I'd say) for a while and in some small part my Sloane fleet would be affected by that. Plus I wanted to try something new.
The training process mostly involved trying a few things. I had a few games with Raddus. He was fun but I wasn't confident I'd have the time to master him for Worlds. I played around with some Screed builds but couldn't quite find a fleet there I was confident with. Then the new errata dropped. I had always assumed I could go back to Sloane and I tried a slightly updated form of my Adepticon fleet (put Boosted Comms on the Gozanti) and it did... let's say "fine."I won most of my games, but only having two ships on the table (one of them a fragile Quasar and the other a tanky Interdictor) standing between me and tabling was a harrowing experience. Plus I expected to see a lot of Sloane at Worlds and my inner contrarian wanted to rock the boat.
Hence, MSU. MSU has been proclaimed as dead in wave 7 but I feel like it has a good match-up against Sloane and Raddus. The main hurdle is handling the Vader double ISD (Cymoons and/or ISD-IIs) matchup which puts way more pressure on your swarm at long range than just about anything else. Despite my love of Ozzel Imperial MSU, my experiences against Vader double Cymoons earlier in wave 7 left me convinced that at best I could eek out a win by taking out one ISD and then running for the hills. That's all well and good, but it's not really good enough if I was expecting to hit a lot of large ships. At this point, Rebels can field more total ships than Imperials, those ships can contribute more at long range (I 💗 Hammerhead Scouts), and Rebels can run Rieekan as a commander to handle enemy fleets based on outbidding the bejesus out of you and eliminating a small ship at the start of the round. I ended up going no squadrons at all to get more metal/plastic on the table. I expect to lose some ships to squadrons but I'm gunning for those carriers ASAP, which Quantum Storm helps with. This is the kind of fleet that would've been suicidal to run prior to the flotilla nerf and after some test runs that turned out very positively (especially against Vader double ISDs, the one match I had to do at least "okay" in), I decided to stick with it.
In terms of the "whys":
- MC30 flagship is the safest place for Rieekan. With Lando and Admonition, it takes some serious killing to really bust it so Rieekan, if he dies, will often die late in the game. It's frequently used as a finisher to go in after other ships to deliver the knockout blow.
- Other MC30 is the dirt cheap "used car lot" MC30. It gets work done for its low cost and is often first into the fight. A frequent recipient of Rieekan's zombie powder, it still needs to be taken seriously or else it will throw black dice everywhere and then make a getaway.
- Jaina's CR90A is pretty standard Rebel tech at this point because it's good. Helps gang up on heavier ships with several other ships or teams up with one other ship to go hunting against weak ships like Quasars in the back field.
- The Hammerheads kind of come as a group.
- The 2 Scout Hammerheads are there for relatively inexpensive activations and red-dice flinging. With Task Force Organa, they are pretty reliable at generating 1 damage per die (or thereabouts), which is enough to contribute against most ships but small enough and numerous enough (when combined, especially with the CR90) to make defense token spending against them not great.
- Slaved Turrets is surprisingly legit on Hammerhead Scouts set up this way. You generally don't want to present your side arcs to opposing ships anyways (only 1 shield there and only one blue die out the side anyways), so the Slaved Turrets will get work done. It's one of the few ships I'd recommend using them on.
- The Torpedo Hammerhead is there early on primarily to be a cheap activation and Task Force Organa target early on while presenting a second "finisher" option later on, should it survive.
- It has been my experience nowadays that with speedier large ships the enemy fleet will advance against whatever assets are placed roughly in the middle against MSU, because anything on the flanks has the benefit of speed to get out of the way. The middle has a harder time of avoiding the enemy fleet coming at it, so I figured they might as well be cheap and (for their cost, anyways) durable Hammerheads rather than CR90s. Early Warning System also causes some big problems for CR90s, which generally rely on double-arcing, but less of a problem for Hammerheads.
- The Quantum Storm Slicer Tools GR-75 is a cheap but extremely annoying activation that can be very clutch in the right circumstances, especially against squadron-heavy fleets (stops the carrier from issuing a squad command) or no-squadron fleets (changes up a useful command dial to a pointless squadron dial). It didn't really do a lot in my earlier test games but I'm glad I chose to keep it as it proved very helpful during Worlds.
- No squadrons at all because I was confident in being able to remove non-flotilla carriers. Between the two MC30s, 3 Hammerheads, and Jaina's CR90, I could go hard against carriers, take my lumps (with Rieekan helping) and then (hopefully) destroy the carriers quickly. This is the kind of fleet my Adepticon Sloane fleet really did not want to play against.
- The objectives are fairly standard for a fleet like this expecting an environment with little Strategic (post-nerf, the number of Strategic fleets has decreased significantly in my experience) with the exception of Salvage Run. John got me interested in Salvage Run during a practice game and the MSU fleet can grab all those tokens without too much hassle and the nav tokens help as well. The first player can only contest the tokens with Strategic (which is rare, as mentioned earlier) or by flying straight in at speed 4, which can be extremely dangerous and presents difficulties with escaping or being relevant past the token pick-up (especially against Rieekan).
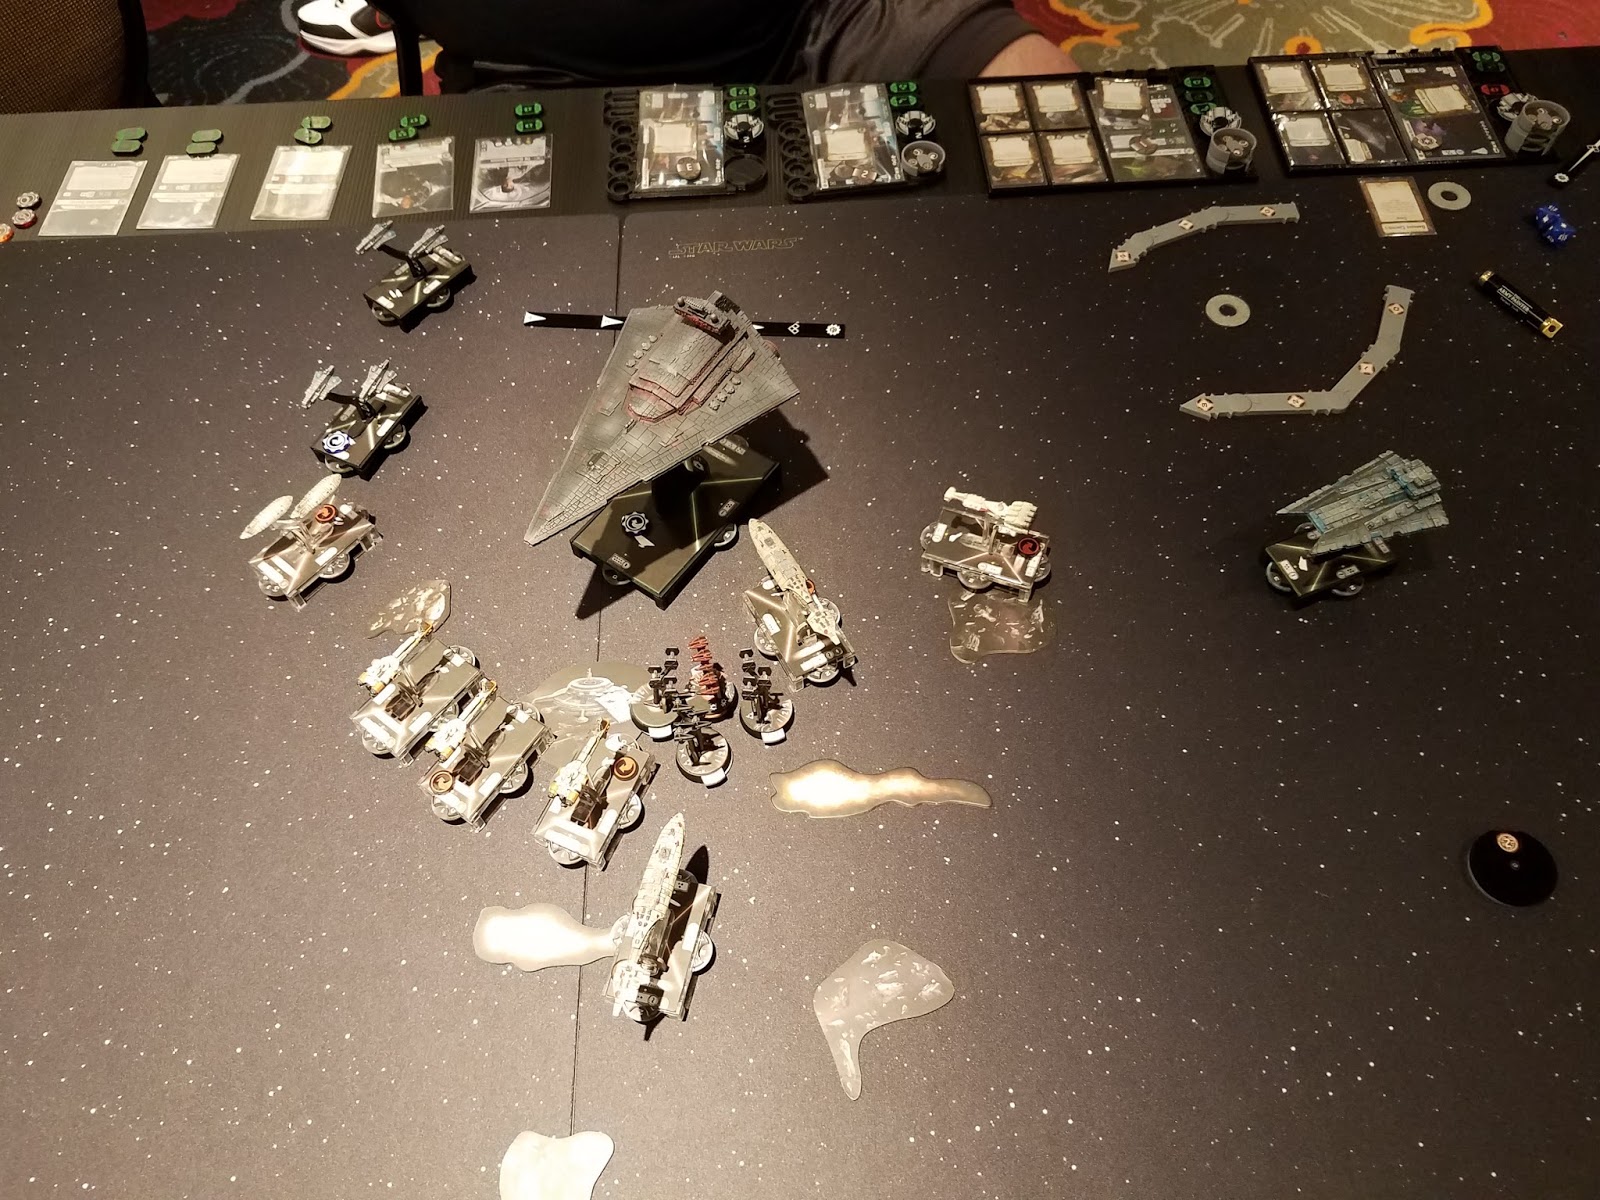
Game 1 vs. Brendon MacLeod
This is the only game I took multiple pictures of, so don't get used to being spoiled 😉. Brendon had a big bid (20+) and was bringing an ISD-I with Leading Shots, Gunnery Teams, a Strategic Adviser and some other stuff, 2 Gozantis, Demolisher, and a modest squadron ball with Jendon, Maarek, and 3 other aces. Brendon chose to go first and chose to play Salvage Run. He deployed mostly in the right corner. I rushed the middle and grabbed every Salvage Run token. The ISD made its way into the center but was unable to bash its way through the Quantum Storm or leftmost Hammerhead and got stuck in the middle of a demolition derby and was destroyed. Demolisher was concerned about biting off more than it could chew and so mostly kept to the right in reserve early on. The Gozantis mostly threw squads around where they could (helped by the ISD round 2) and by the end of the game, I had Jaina's and both MC30s left with him having his squads, a Gozanti, and Demolisher. Demolisher made a run on one of the MC30s (I think it was the generic one) hoping to set it up for destruction with the squadrons and planning on avoiding a double-arc. Unfortunately for Demolisher, it was double-arced just barely and was taken out by an extremely good side arc shot (double accuracy plus lots of damage) and the MC30 got away, which tabled Brendon. Jaina's was taken out by squadrons leaving me with both MC30s still on the table.
 |
| This is the setup, basically. Brendon had a neat paintjob on his ISD. |
 |
| This is around round 3 |
 |
| Round 4 |
 |
| Round 5 |
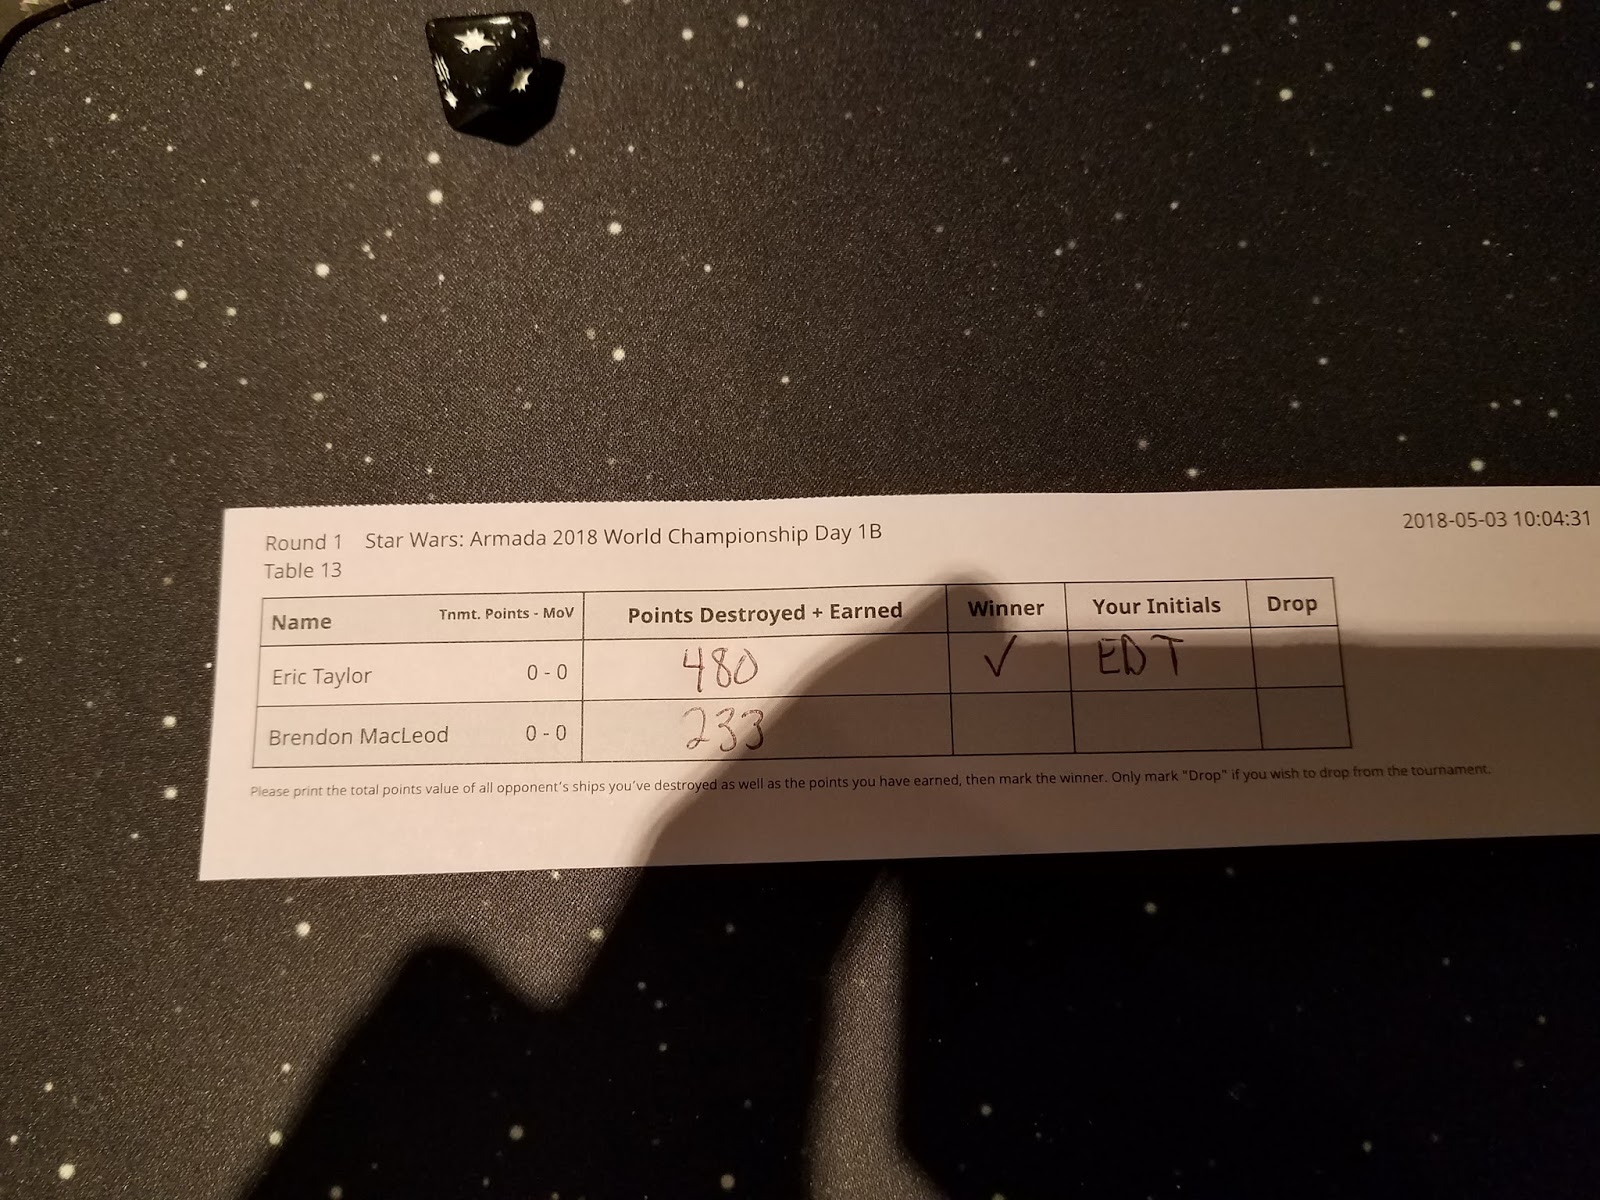 |
| The final slip. I took pictures of these to remember opponent names and how the game went. |
 |
| Round 1 setup! |
- Ordnance MC75 with Ordnance Experts, External Racks, APTs, and ECMs
- Lando Admonition MC30 with Ordnance Experts and APTs (and maybe XI7s?)
- Garel's Honor Hammerhead Torpedo with External Racks and Boarding Engineers
- 2 GR-75s, I believe one with Comms Net and another with Quantum Storm and Slicer Tools
- Tycho, Shara, and 2 A-Wings
The MC75 succeeded at destroying the Torpedo Hammerhead (which stuck around due to Rieekan) but the huge mosh pit at the center of the board caused serious problems for Jason's fleet, as the MC75 was unable to escape and the other nearby ships had activation problems as they wanted to have a meaningful activation and not be stuck in place due to ramming. Helped in part by Jason's Hammerhead ramming his MC75 (I've been there, it sucks), I was able to finish off the MC75 round 2 while keeping the MC30 and Hammerhead basically out of the fight. Neither of Jason's ships threatening the token pickup were able to grab them in time due to the aforementioned activation issues, so I got all 4 Salvage Run tokens.
After that it was basically mop-up work. Similar to my previous game, Jason made an attack run on my MC30 with his MC30 later on that resulted in his MC30 getting destroyed, which resulted in a tabling. Jason was able to destroy all my Hammerheads in return:

Game 3 vs. Norm Weir(!)
So for game 3 I found myself at the top table (which... holy crap, what?). My opponent would be Norm Weir. You know, the same Norm Weir who won Worlds last year and beat Nick Griffiths the round before, the guy who beat me round 2 of the Thursday Adepticon tournament. No problem, right? (anxiety intensifies)
Norm was running:
- Ozzel on a Gladiator-I with Engine Techs, APTs, Ordnance Experts, and Brunson
- Demolisher Gladiator-I outfitted the same, only with a Skilled First Officer instead
- Quasar-I with Expanded Hangar Bays, Boosted Comms, Flight Controllers, Tua, and ECMs
- Vader, Zertik, Maarek, Black Squadron, Mauler Mithel, and Soontir Fel
- A huge (30ish?) bid
 |
| Salvage Run, take 3 |
The Quasar and Ozzel Gladiator headed to my right and the Quasar was able to launch some squadrons round 2 before Quantum Storm sliced it round 3 and between Jaina's Light and a Scout Hammerhead pounding on it rounds 2 and 3, I was able to destroy it without much further trouble round 3. Ozzel's Gladiator snuck around the side, taking out a Hammerhead and taking some fire from Rieekan's MC30, but Brunson was an MVP and kept it alive despite a few attacks leveled at it (including an MC30 side arc). Ozzel ran out the back and came around to command some squads in the last two rounds. Demolisher held back for a while until it ran into trouble around round 3 or 4 and got destroyed by the used car MC30 and a Hammerhead or two. Being unable to take out the Ozzel Gladiator left a lot of points on the board and some squads were able to take out a ship or two (specifics on those are fuzzy right now, sorry, I know for a fact at least one Hammerhead and the CR90 were among the destroyed, there was a hot Vader roll at the end that claimed another Hammerhead, as I recall). Thanks to my 80 Salvage Run points, I barely won.

Game 4 vs. Nathan Coda(!)
So I stuck it out at the top table despite the narrow 8 point 6-5 win against Norm and was slated to play against Nathan, perpetual Worlds runner-up and new denizen of Chicagoland. Nathan has even played Armada at my house (as we got the Chicagoland group together for pre-Worlds practice) but Nathan and I had never played one another despite that (frequently being busy playing the other 4 people coming up to Worlds along with us). First time for everything, just wish it wasn't at the top table at Worlds, haha 😉.
Nathan brought:
- Nebulon-B Escort Frigate with Yavaris, Flight Commander
- MC80 Command Cruiser with General Rieekan, Strategic Adviser, Fighter Coordination Teams, Leading Shots, Quad-Battery Turrets
- GR-75 with Torryn, Bright Hope
- GR-75 with Comms Net
- Hera Syndulla, Jan Ors, Ten Numb, Gold Squadron, Scurrg H-6, 3x YT-1300
- A 3 point bid
The picture below is the game state around the beginning of round 3:

I did manage to destroy both flotillas and Yavaris (rammed a Hammerhead and landed on an asteroid and drew Structural Damage, but the Hammerhead had yet to go so would've taken it out anyways - sucks to die to a rock, though) and was one hull from destroying the HMC80. I was able to get the used car MC30 around the front, which did pretty well at stripping the HMC80's shields and keeping it stuck in place after it got zombified. I then brought in Jaina's Light and Rieekan's MC30 to attack it the turn after but RNGesus got me pretty bad with poor damage output from Rieekan's MC30 and giving me an accuracy on an added blue die with Jaina's when literally any other result would've killed the HMC80😞. With time being called at round 5, the Hammerhead Scout I would've brought in to plink the HMC80 to death on round 6 never got his chance (it would've been a mutual tabling on round 6, I have no doubts about that, which would've been a 5-6 loss for me as Nathan was second player). I was left with a Hammerhead Scout and Quantum Slice and Nathan his squadrons and one-hull-remaining HMC80. And that's the story of how 1 hull point was the difference between a 7-4 win and getting second and going to semi-finals versus a 2-9 loss and getting 9th. Ha.
I forgot the final strip picture because we played to the buzzer and everyone was waiting on us.
All that said, Nathan is a good guy and he plays a tight game. He went on to win Worlds and I was cheering for him in the final round (and drinking some very tasty cider). I'm really pleased to have done as well as I did and to have gotten to the top table and held it for a round. No hard feelings to anyone except RNGesus. I'm still not returning his calls.
 |
| I mean just look at the guy! |
Addendum: team game on Friday!

John and I played on the same side for the first time ever in a silly team game event on Friday. I wish I could remember our opponent's names but I was still coming down from the craziness of the previous day. It was a 6 Hammerhead + 2 MC30 + 1 Jaina's CR90 + 2 GR-75 swarm led by Leia and Rieekan against a 3 Cymoon 2 Arquitens triangle gunline led by Vader and Jerry. We barely pulled it out and there was much judicious running away from ISD front arcs because OH GOD RUN. It was fun. I'd recommend it for sure.
Final thoughts
Again, Worlds was fun. I'd definitely recommend going if you get the opportunity. I'm planning to go back if I can grab a ticket sometime next year/win a Regional. Thanks for reading and sorry it took so long to get this up!
No comments:
Post a Comment
Note: Only a member of this blog may post a comment.